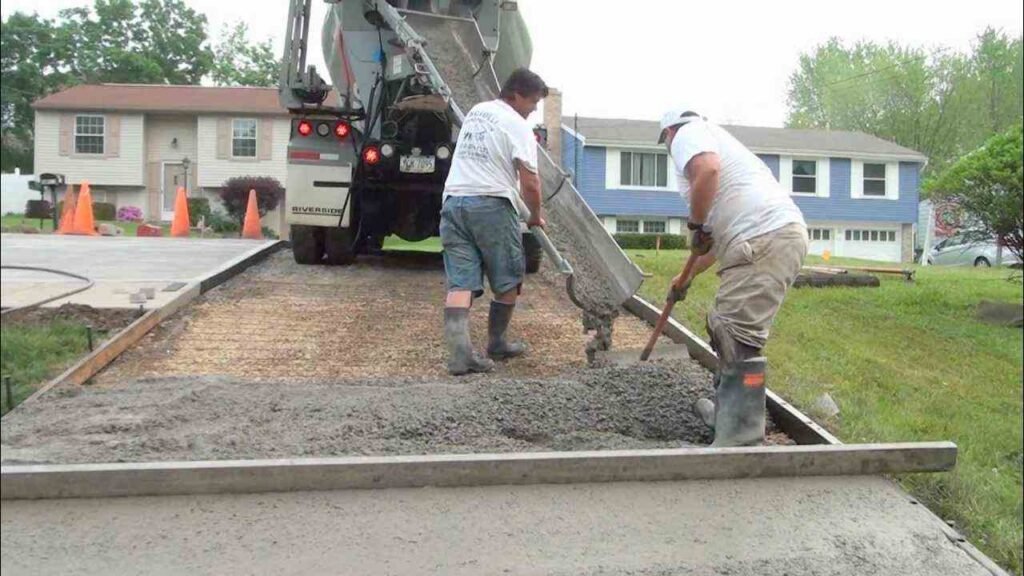
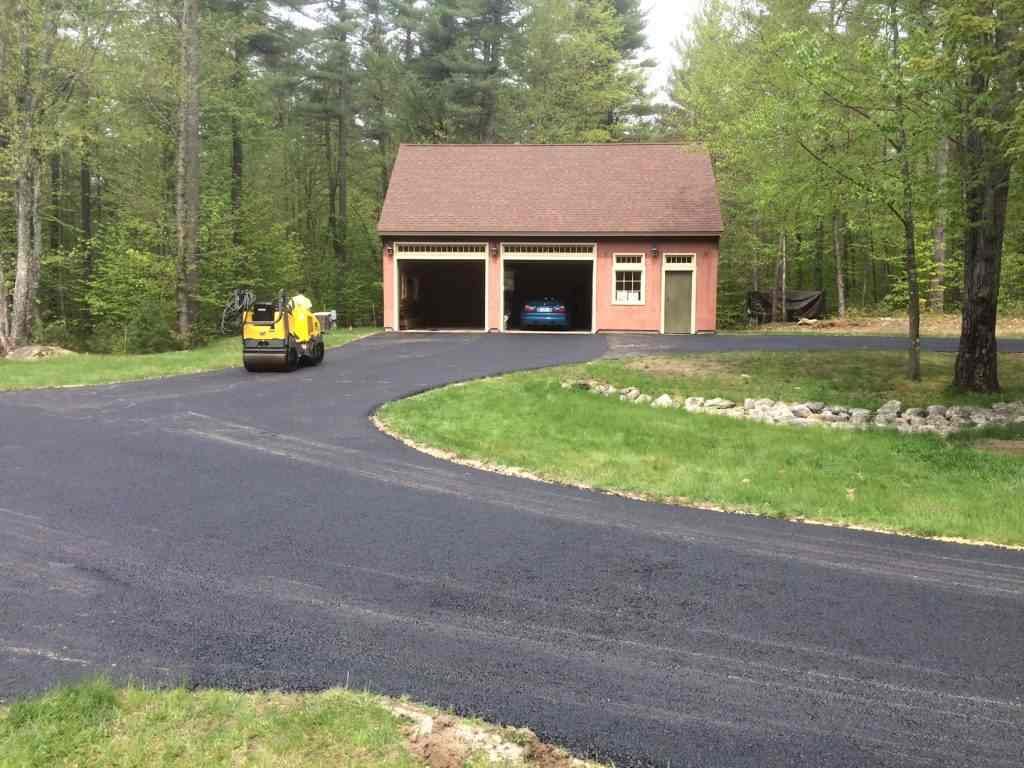
Thinking about installing a concrete driveway? It’s a great choice for durability and curb appeal! But before you dive in, it’s important to understand the process. First, you’ll need to plan and measure the area, then prepare the site by digging out and leveling the ground. Next comes the crucial step of setting up forms to hold the concrete in place. Once the forms are ready, it’s time to pour and spread the concrete, ensuring it’s evenly distributed and properly finished. Finally, after curing, your driveway will be ready to handle all the traffic and weather it’s bound to face. Embark on a journey with Evergreen Landscaping of Cincinnati and break down each step in detail!
1. Planning and Design
The initial phase of concrete driveway installation involves careful planning and design. This step is crucial as it sets the foundation for the entire project. Begin by determining the size and shape of the driveway, keeping in mind the space available and the intended use. Consider whether the driveway will accommodate just personal vehicles or if it will need to support heavier loads, such as RVs or boats.
Proper planning also includes evaluating the site’s drainage needs. Poor drainage can lead to water pooling and potential damage to the driveway over time. Ensure the site is graded to direct water away from the driveway and into appropriate drainage areas. Planning also involves selecting the type of concrete mix and finishing techniques based on the desired appearance and functionality of the driveway.
2. Preparation
Preparation is a critical phase in the driveway installation process. It involves clearing and excavating the site to prepare it for the new concrete. Start by removing any existing pavement, grass, or debris from the area where the driveway will be installed. This step ensures a clean and stable surface for the new concrete.
Once the area is excavated, you will need to set up formwork. Formwork consists of wooden or metal boards that outline the edges of the driveway. These forms hold the concrete in place and shape the final appearance of the driveway. Secure the forms firmly to prevent shifting during the pouring process.
3. Base and Sub-base
Creating a stable base and sub-base is essential for the durability of your concrete driveway. Begin by laying a layer of gravel or crushed stone, typically 4-6 inches deep. This layer serves as a foundation, providing stability and improving drainage beneath the concrete.
Proper compaction of the base material is crucial. Use a mechanical compactor to compress the gravel or crushed stone, creating a firm and level foundation. This step prevents settling and shifting of the driveway over time, which could lead to cracks and other issues.
The base and sub-base layer also plays a role in drainage. A well-graded base allows water to flow away from the driveway, reducing the risk of pooling and damage. Ensure that the base material is evenly distributed and compacted to provide the best possible support for the concrete.

4. Reinforcement
Reinforcement is a key step in ensuring the strength and longevity of your concrete driveway. Concrete alone can be prone to cracking under stress, but adding reinforcement helps prevent these issues. The two most common forms of reinforcement are rebar and wire mesh.
Rebar, or reinforcing steel bars, are placed within the forms before the concrete is poured. They provide additional tensile strength, helping the concrete resist cracking and shifting. Rebar should be spaced according to standard guidelines, typically 12-18 inches apart, and should be positioned near the middle of the slab for optimal effectiveness.
5. Concrete Pouring
The pouring of concrete is a critical phase in the installation process and requires careful execution to ensure a smooth and durable surface. Start by mixing the concrete according to the manufacturer’s instructions. The mix should be consistent and free of lumps to ensure a uniform finish.
Once the concrete is poured and leveled, the finishing process begins. Smooth the surface using a float, which helps to eliminate imperfections and create a uniform texture. If a non-slip surface is desired, apply a broom or other texture tool to create a textured finish. This step also involves edging the driveway to create clean lines and prevent cracks.
6. Curing and Sealing
Curing and sealing are essential steps for the longevity and appearance of your concrete driveway. Proper curing ensures that the concrete reaches its maximum strength and durability. Allow the concrete to set for at least 24 hours before walking on it, and up to 7 days for full strength. During this time, it’s crucial to keep the surface moist to prevent cracking.
Once the concrete has fully cured, typically after 30 days, it’s time to apply a sealant. Concrete sealants protect the surface from stains, weathering, and other forms of damage. Apply the sealant evenly across the surface according to the manufacturer’s instructions, ensuring that it penetrates the concrete and provides a protective layer.
7. Excavation and Subgrade Preparation
Excavation and subgrade preparation are foundational steps that set the stage for a successful concrete driveway installation. The excavation process involves removing the top layer of soil and any existing materials from the area where the driveway will be installed. This step is crucial to create a stable and level base for the new driveway.
After excavation, focus on preparing the subgrade, which is the soil layer beneath the base material. The subgrade should be compacted to provide a stable foundation and prevent settling over time. Use a mechanical compactor to compress the soil and create a firm, even surface. Proper subgrade preparation is essential for preventing future issues such as uneven settling or cracking of the concrete.
8. Setting Forms and Control Joints
Setting forms and installing control joints are key steps in shaping and reinforcing the concrete driveway. Forms are temporary structures that define the edges and boundaries of the driveway. They can be made from wood, metal, or plastic and should be securely anchored to prevent movement during the pouring process.

Control joints are essential for managing the natural expansion and contraction of the concrete. These joints are strategically placed to prevent random cracking and to guide the cracking to specific areas where it is less noticeable. Typically, control joints are spaced 4-6 feet apart, but the exact spacing can vary based on the size of the driveway and the thickness of the slab. Use a grooving tool or a saw to create these joints before the concrete fully sets.
9. Pouring and Finishing Techniques
Pouring and finishing techniques are crucial for achieving a smooth and aesthetically pleasing concrete driveway. Once the forms are set and reinforcement is in place, begin the concrete pouring process. Pour the concrete in sections to ensure even distribution and to avoid cold joints where the concrete may not bond properly.
For finishing, start by using a float to smooth out the surface. A float helps to eliminate imperfections and create a uniform finish. If a textured surface is desired, use a broom or other texturing tool to create the desired pattern. Edging tools should be used along the forms to create clean, defined edges and to help control cracks. The final finish should be checked for any inconsistencies or defects, and adjustments made as necessary.
10. Curing and Protection
Curing and protection are vital for ensuring the long-term durability and strength of the concrete driveway. Proper curing helps the concrete achieve its maximum strength and reduces the risk of cracking. Immediately after finishing, cover the concrete with plastic sheeting or apply a curing compound to retain moisture and control the curing process.
Concrete should be kept moist for at least 7 days. During this period, avoid exposing the surface to direct sunlight, strong winds, or extreme temperatures, as these conditions can cause the concrete to dry too quickly and crack. Regularly check the moisture levels and reapply curing compound as needed to maintain a consistent curing environment.
11. Sealing and Maintenance
Sealing and ongoing maintenance are essential for preserving the appearance and longevity of a concrete driveway. Once the concrete has fully cured, apply a high-quality concrete sealant to protect the surface from stains, water damage, and wear. Sealants also enhance the color and texture of the driveway, giving it a polished look.
Ongoing maintenance of concrete driveway involves to remove debris, stains, and dirt. Use a mild detergent and a pressure washer or a stiff-bristle brush for regular cleaning. Address any cracks or damage promptly with concrete repair products to prevent further deterioration. Regular maintenance helps keep the driveway in good condition and ensures its longevity.
12. Addressing Common Issues
Addressing common issues during and after the installation of a concrete driveway is essential for ensuring its long-term performance. Some common problems include cracking, surface discoloration, and drainage issues. Understanding these issues and their solutions can help maintain the driveway’s integrity.
Cracking can occur due to various factors, including improper curing, excessive load, or inadequate reinforcement. To address cracks, use concrete crack repair products to fill and seal them. For larger or more serious cracks, consult a professional for a comprehensive repair solution.
Drainage issues can lead to water pooling and damage. Ensure that the driveway is properly graded and that drainage systems are in place. Address any low spots or areas where water collects by regrading or adding drainage solutions.
13. Final Inspection and Quality Assurance
The final inspection and quality assurance phase is crucial for ensuring that the concrete driveway meets all project specifications and standards. Conduct a thorough inspection of the completed driveway to identify any imperfections, such as uneven surfaces, misaligned edges, or inadequate finishing.
If any issues are identified, address them promptly to prevent long-term problems. Quality assurance includes reviewing the overall workmanship and ensuring that the driveway meets all relevant building codes and standards. A final inspection ensures that the project is completed to a high standard and that the driveway will perform well for years to come.
Conclusion
In conclusion, installing a concrete driveway involves several key steps: planning, site preparation, form setting, pouring, and finishing the concrete. Each stage is crucial for ensuring a durable and visually appealing result. By carefully following these steps, you can achieve a professional-quality driveway that enhances your property’s functionality and aesthetics. Whether you’re doing it yourself or hiring a professional, understanding the process helps in making informed decisions and ensuring the best outcome for your investment. With proper care and attention to detail, your new concrete driveway will serve you well for years to come.
